
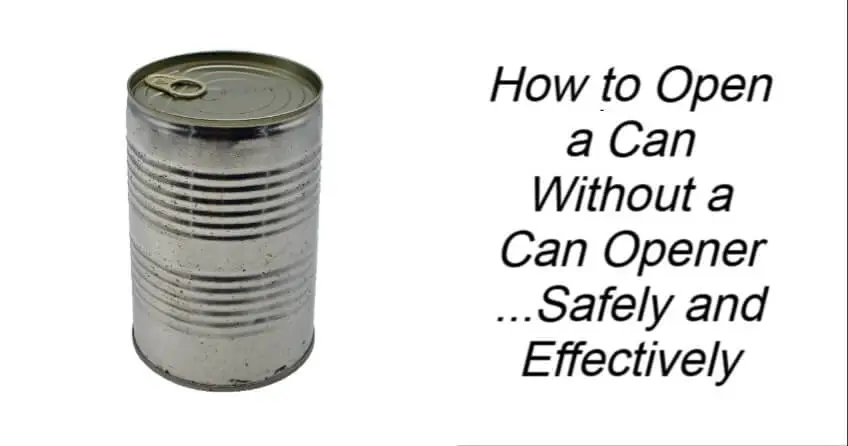
How to Open a Can Without a Can Opener …Safely and Effectively
Most of us never think twice about a can opener—until the moment we actually need one and it’s nowhere to be found. Whether you’re camping, dealing with a power outage, or stuck in an unexpected emergency, a sealed can without tools can quickly become frustrating.
The good news? You don’t need fancy equipment to get it open. With a bit of patience, common household items, and the right technique, it’s entirely possible to open a can safely. The key is staying calm, working slowly, and protecting yourself from sharp edges.
Understanding How a Can Is Made
Before trying any method, it helps to know what you’re working with. Most cans are sealed with a thin metal lid crimped tightly around a thicker rim. The lid itself is the weakest point, while the rim provides strength.
Your goal isn’t brute force—it’s weakening the seal between the lid and the rim so the top can be lifted without spilling or injury.
Method 1: The Concrete or Rough Surface Trick
This method is especially useful if you have no tools at all.
- Turn the can upside down and place the top against a flat, rough surface such as concrete, stone, or brick.
- Rub the can firmly in a circular motion. The friction slowly wears down the metal seam.
- After 30–60 seconds, check for moisture on the surface—this means the seal is breaking.
- Gently squeeze or tap the sides of the can until the lid loosens.
- Carefully lift the lid using a spoon, stick, or cloth to avoid sharp edges.
This technique is popular in survival situations and works surprisingly well with steady pressure.
Method 2: Using a Spoon
A sturdy metal spoon is one of the safest improvised options.
- Hold the spoon firmly and place the tip against the inner edge of the lid.
- Rub the spoon back and forth where the lid meets the rim.
- The repeated friction will thin the metal until it punctures.
- Once a hole forms, slowly pry the lid open around the edge.
This method takes patience but gives you excellent control and reduces the risk of slipping.
Method 3: Using a Knife or Multi-Tool (With Caution)
If you have a strong knife, pocketknife, or multi-tool, this method is quicker—but requires care.
- Place the can on a stable, flat surface.
- Hold the tool vertically with the tip resting on the inner rim of the lid.
- Gently tap the handle to puncture the lid.
- Work your way around the edge with small punctures until the lid loosens.
- Lift the lid carefully, keeping hands clear of sharp metal.
Never rush this step—most injuries happen from slips or forcing the tool.
Method 4: The Rock-and-Pressure Technique
In outdoor settings, a large flat rock can help. Gently strike or press the inverted can against the rock to weaken the seam, then use a stick or another stone to pry the lid open. It’s not elegant, but it works when options are limited.
Safety and Cleanliness Tips
- Wipe the top of the can before opening to prevent dirt from falling inside
- Avoid jagged edges; use a cloth, towel, or shirt to protect your hands
- Transfer food to another container after opening
- Dispose of the sharp lid safely to prevent injuries
Final Thoughts
Opening a can without a can opener may seem daunting, but with the right approach, it’s completely manageable. The secret is weakening the seal—not forcing it open—and working slowly to stay safe.
In emergency situations, a little creativity goes a long way. With these techniques in mind, you’ll be prepared the next time your can opener decides to disappear right when you need it most.
You’ve just read, How to Open a Can Without a Can Opener . Why not read Manager Had To Hire A New Employee.