
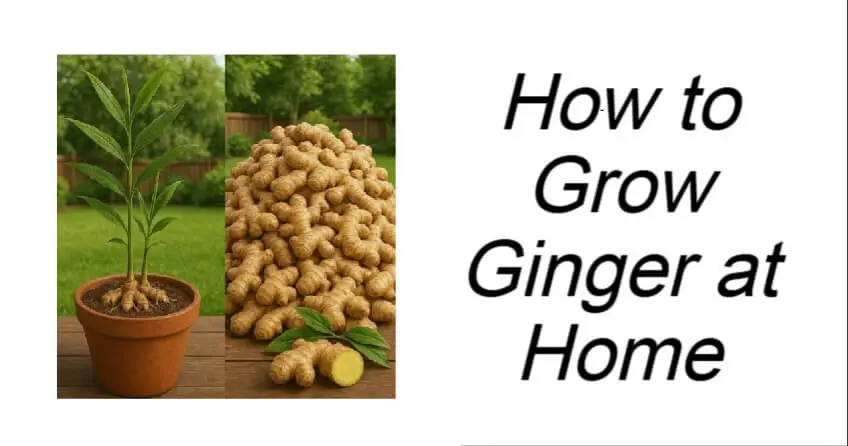
How to Grow Ginger at Home
Ginger is a versatile plant—perfect for cooking, herbal remedies, and even skincare. While store-bought ginger is convenient, growing it at home is surprisingly easy and gives you a continuous supply of fresh, nutrient-rich roots all year round.
Why Grow Your Own Ginger?
Homegrown ginger is fresher, more flavorful, and free from pesticides. Store-bought roots are often treated with chemicals to extend shelf life, which can reduce their ability to sprout. Growing your own ensures healthier ginger, saves money, and adds a touch of greenery to your kitchen, balcony, or windowsill.
Choosing the Right Ginger Root
Start with a healthy ginger rhizome. Look for pieces that are:
- Plump and firm
- Free of wrinkles or mold
- Featuring several small “eyes” or growth buds
These buds are where new shoots will emerge. For best results, pick a piece about 3–4 inches long. Organic ginger is ideal, as it’s less likely to have been treated with growth inhibitors.
Preparing the Ginger for Planting
- Soak: Place the rhizome in warm water overnight to soften the skin and encourage sprouting.
- Cut (Optional): Slice the rhizome into sections, ensuring each piece has at least one bud.
- Dry: Let the cut pieces air-dry for 1–2 days to prevent rotting when planted.
Picking the Perfect Pot and Soil
Ginger roots grow horizontally, so choose a wide, shallow pot with good drainage holes. Use a rich, well-draining mix—a combination of garden soil, compost, and sand works well. Ginger loves moisture but dislikes soggy soil, so ensure water drains freely.
Planting and Positioning
- Plant each rhizome about 2 inches deep, buds facing upward.
- Water lightly and maintain consistent moisture.
- Place the pot in a warm, humid spot with indirect sunlight. Ideal temperatures: 20–30°C (68–86°F).
- Avoid too much direct sun, which can scorch leaves, or too little light, which slows growth.
Caring for Your Ginger Plant
Ginger grows slowly, so patience is key. To keep it healthy:
- Keep soil moist and occasionally mist leaves.
- Feed every few weeks with organic fertilizer or compost tea.
- Watch for yellowing leaves, which may indicate overwatering or nutrient deficiency.
Harvesting for a Continuous Supply
- Ginger is usually ready to harvest 8–10 months after planting.
- Leaves will start turning yellow and dry.
- Carefully dig around the plant and remove a portion of the rhizome.
- Re-cover the remaining root to allow continuous growth—no need to replant each season.
Storing and Using Fresh Ginger
- Store in a cool, dry place or freeze for long-term use.
- Slice, dry, or blend into powder as needed.
- Fresh ginger adds flavor to soups, teas, stir-fries, and offers health benefits like improved digestion, reduced inflammation, and relief from nausea.
The Joy of Growing Indoors
Growing ginger indoors is both rewarding and practical. With minimal effort, a single rhizome can become a thriving plant, giving you fresh, aromatic ginger year-round. Whether you’re a beginner or an experienced gardener, this is a simple way to bring nature into your home and enjoy endless culinary and health benefits.
You’ve just read, How to Grow Ginger at Home . Why not read Manager Had To Hire A New Employee.